Thinking about listing your Lincoln Park greystone or rowhouse but worried you’ll lose the charm that makes it special? You are not alone. Selling a historic home today means balancing preservation with smart updates that meet buyer expectations. In this guide, you’ll learn how to confirm landmark status, plan inspections, choose preservation‑first upgrades, stage for impact, and coordinate permits and timelines. Let’s dive in.
Confirm landmark status and paperwork
Before you plan any work, verify the property’s historic status and gather required disclosures. These steps protect you from delays and last‑minute surprises.
- Check if your home is listed in the Chicago Historic Resources Survey or sits inside a local landmark district. The Commission on Chicago Landmarks provides a quick primer on researching your address and permit history in “Your House Has A History.” You can use it to locate old permits and historic records that inform your plans. Review the guide in Your House Has A History and the Commission’s Historic Resource FAQ.
- If your home is designated or within a district, exterior work that is visible from the public way may require staff review or a Certificate of Appropriateness. Call Landmarks staff early to understand scope, submittals, and timing. You will avoid stop‑work orders and rushed changes.
- Complete Illinois seller disclosures. Illinois law requires the Residential Real Property Disclosure Report. Download the form and prepare any available reports or receipts to share with buyers. Access the form here: Illinois Residential Real Property Disclosure Report.
- If your home was built before 1978, federal Title X requires you to provide buyers with the EPA/HUD lead pamphlet and any known lead reports. Renovation that disturbs painted surfaces generally must follow the EPA Renovation, Repair and Painting rule and use certified firms. Review Title X lead disclosure requirements and the EPA RRP program so you can plan safe, compliant work.
Pro tip: Keep a clean digital folder with landmark status notes, permit history, the disclosure report, and key invoices. Sharing organized documents builds trust with buyers.
Order pre‑listing inspections
A pre‑listing inspection strategy lets you surface and address deal‑killers on your timeline. It also supports transparent marketing that reduces renegotiation risk.
Core and specialty inspections
- General home inspection. Get a full baseline on structure and systems. Use the summary to guide repair bids and disclosure.
- Electrical safety review. Ask the electrician to evaluate panel capacity, knob‑and‑tube or aluminum wiring, and ungrounded circuits. Underwriting and safety often hinge on this.
- Chimney and fireplace inspection. A Level 2 scope is common before sale or repair. Masonry cracks and flue issues are typical in older Chicago homes. When tuckpointing is needed, follow the National Park Service guidance on mortar compatibility. See NPS Preservation Brief 2 on repointing.
- Roof inspection. Document age, flashing, and any slate, copper, or flat roof concerns. Buyers focus on water management and roof life.
- Masonry and facade survey. A preservation architect or historic mason can check mortar loss, spalling, rusting lintels, and cornice deterioration. Correct mortar selection protects soft historic brick and limestone. Reference NPS Preservation Brief 2 for best practices.
- Window condition survey. Assess sash, frames, glazing, and hardware. NPS recommends repair and storm windows as a cost‑effective, character‑sensitive approach in many cases. See NPS Preservation Brief 9 on wood windows.
- Hazard testing when applicable. For pre‑1978 homes, consider a lead inspection or risk assessment. If original insulation or pipe wrap is present, schedule asbestos testing. If you have past results for radon, share them. Hire certified professionals and plan for EPA lead‑safe practices where required. Review Title X lead rules.
- Sewer lateral scope. If there is a history of drainage issues, a camera scope can prevent surprises.
How to use the results
- Fix critical safety issues before listing when cost‑effective. Electrical hazards, active roof leaks, and structural concerns come first.
- For high‑cost or cosmetic items, collect bids and disclose the condition with your inspection summary. Offering a credit can keep negotiations predictable.
- Package the final reports and receipts in your listing file. Transparent documentation is a trust signal that shortens contingency periods.
Apply a preservation‑first plan
Your goal is to protect character while making the home easy to live in. The Secretary of the Interior’s Standards provide a practical decision framework that pairs well with buyer expectations. Review the NPS rehabilitation standards as you scope work.
Identify and prioritize
- Document character‑defining features. Think facade materials, cornices, stoop and entry, original woodwork, stair details, fireplaces, built‑ins, and unique windows. Photograph them and add notes from city records. Use Your House Has A History to help pinpoint original materials.
- Triage by risk. Safety, structure, and water management outrank aesthetics. A safety upgrade that protects historic surfaces is ideal.
Repair first, replace rarely
- Masonry. Repoint with compatible mortar. Hard modern mixes can damage historic brick and limestone. Match joint profiles and mortar composition. See NPS Brief 2.
- Windows. When repairable, prioritize weather‑stripping, sash repairs, reglazing, and quality storm windows. When replacement is unavoidable, match size, proportion, muntin pattern, and trim. Guidance is in NPS Brief 9.
- Roofs, porches, and cornices. Repair slate, copper, and millwork where possible. If replacement is required, replicate profiles and visible details.
Research shows that window retrofits often achieve performance close to replacements while preserving character and reducing cost. Review the National Trust study, Saving Windows, Saving Money.
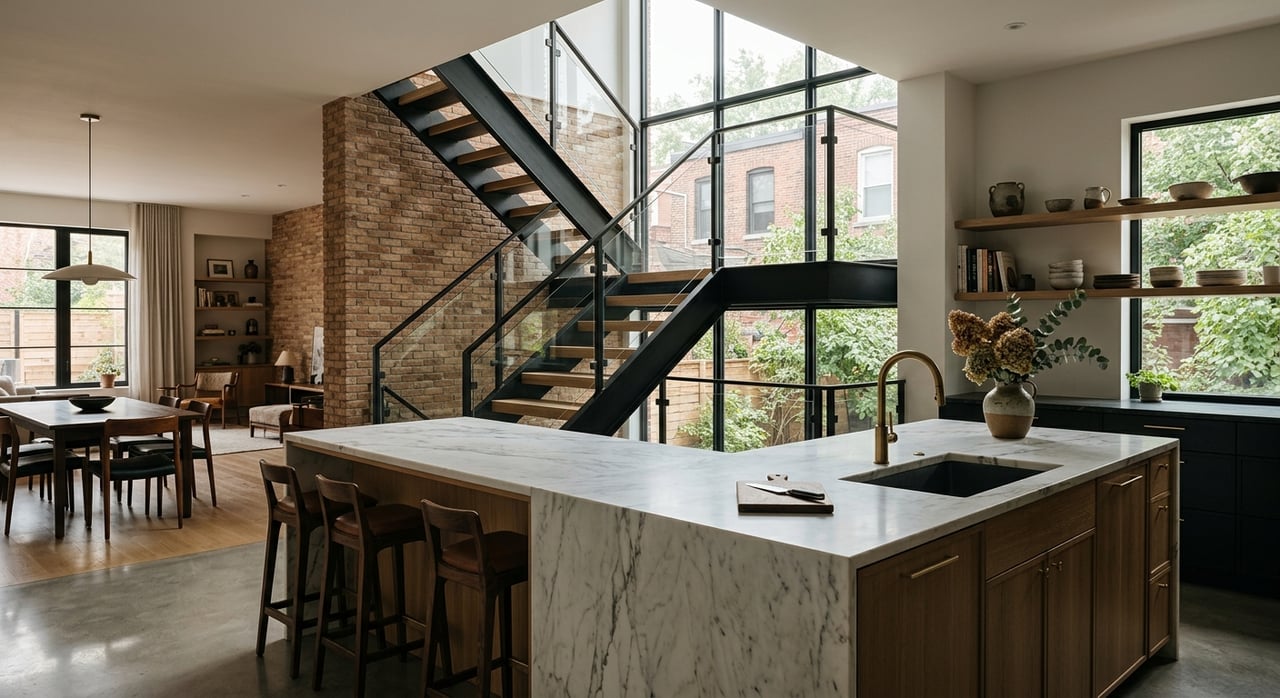
Hide modern systems
- Route new wiring and plumbing in existing chases where feasible.
- Avoid removing original millwork to install equipment.
- Use reversible finishes in kitchens and baths. Keep scale and trim in mind so updates feel integrated without pretending to be original.
Consult before exterior changes
- If a change affects an exterior feature visible from the street, document the condition, get repair‑first bids, and consult Landmarks staff before you start. This saves time and protects value.
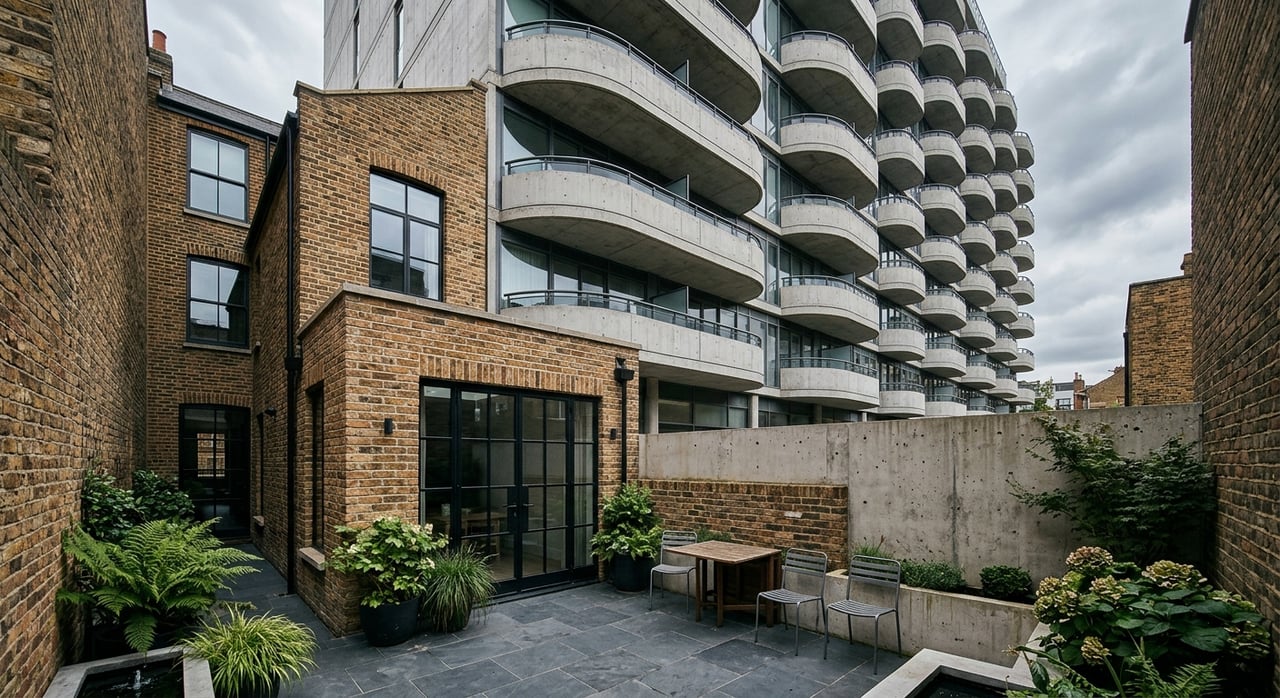
Stage for historic appeal
Buyers for Lincoln Park’s vintage homes want authenticity and function. Your staging should showcase craftsmanship while making rooms feel bright, calm, and move‑in ready.
Staging checklist
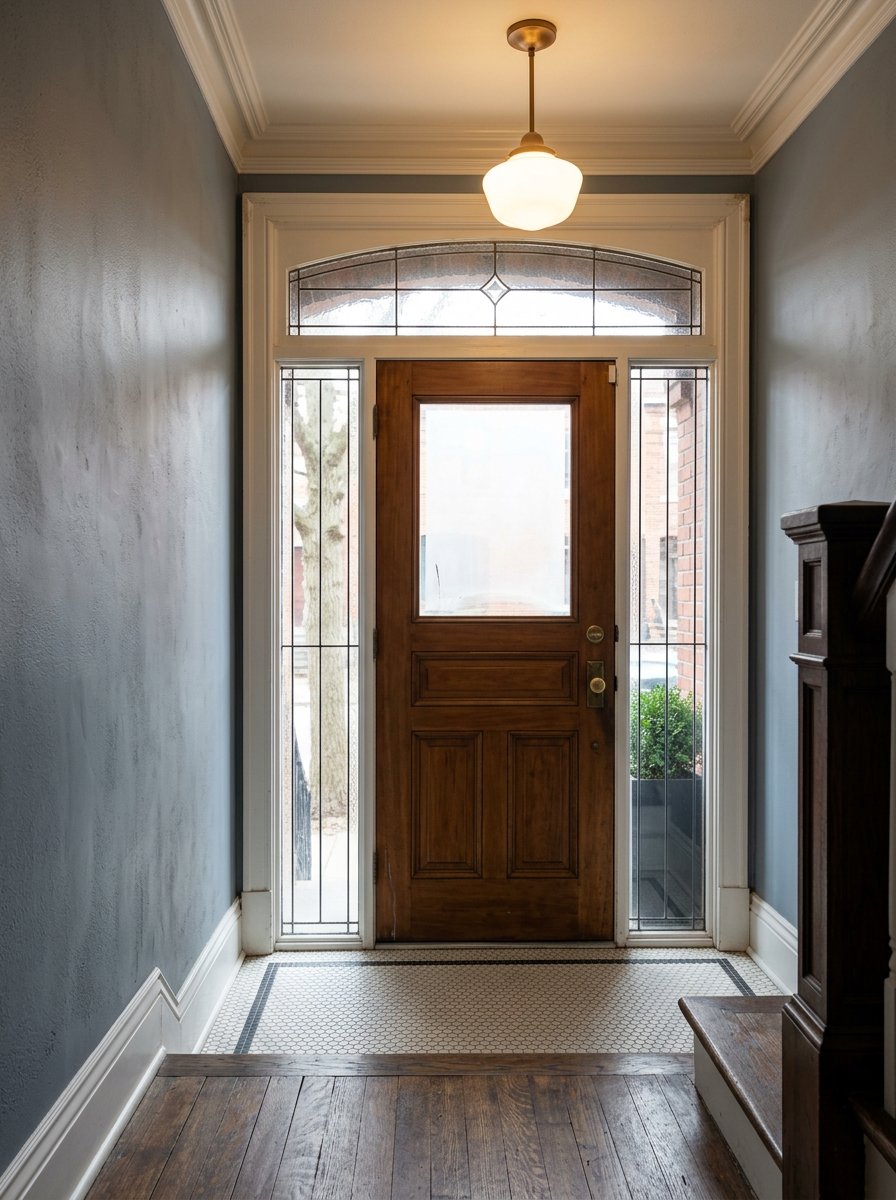
- Highlight one or two period features per room. Examples include a carved mantle, built‑ins, or a stairhall newel and balustrade. Keep them clean and well lit.
- Repaint to reveal detail. Neutral, balanced palettes help trim and moldings read clearly. Scale furniture to the room and avoid clutter.
- Photo priorities. Feature the exterior streetscape and stoop, foyer and stair sequence, a primary parlor, the kitchen, and close‑ups of original woodwork or stained glass.
- Add one tasteful modern signal. A contemporary light fixture or art piece can show buyers how old and new live well together.
Listing copy that converts
- Lead with character and function. Pair a distinctive feature with a practical win. For example: “Limestone greystone facade with original oak balustrade, plus a recent high‑efficiency boiler and updated electric service.”
- Use documentation as a selling point. Mention that inspection summaries and repair receipts are available. This transparency reduces buyer concern and shortens decision cycles.
Assemble your team and timeline
Great results come from a coordinated team and realistic schedule. Here is a plan you can adapt to your scope.
Who you need
- Listing agent with historic‑home experience. Orchestrates pricing, marketing, and timing.
- Preservation‑minded general contractor or preservation architect. Crafts repair‑first scopes and prepares permit drawings if needed.
- Specialty trades. Licensed electrician, historic masonry contractor with lime mortar experience, window restoration specialist, slate or copper roofer, plaster repair pro, and an EPA‑certified lead‑safe firm for any paint disturbance in pre‑1978 homes. Learn what certification entails in the EPA RRP program.
Typical sequence and timing
- Research and pre‑listing calls, including CHRS and permit history. Plan 0 to 2 weeks. See Your House Has A History.
- Pre‑listing inspections and specialty tests. Plan 2 to 3 weeks depending on schedules.
- Decide repairs versus disclosure. Gather bids. Plan 1 to 3 weeks.
- Apply for Landmarks review and building permits if required. Exterior work visible from the street often needs a Certificate of Appropriateness or staff review. Plan 4 to 12 or more weeks based on scope. Start with the Commission’s guidance in Your House Has A History.
- Execute prioritized repairs and preservation work. Plan 1 to 12 or more weeks. Masonry and roof scopes may be seasonal.
- Stage, photograph, and list. Plan 1 to 2 weeks.
Coordination musts
- Align contractor schedules with permit and COA windows. Work done without required approvals can trigger stop‑work orders. Reference the Commission’s guidance in Your House Has A History.
- For any paint disturbance in pre‑1978 homes, ensure RRP compliance. Hire a certified firm, verify a certified renovator will be onsite, and keep required records. See EPA RRP requirements.
Lincoln Park pre‑listing checklist
- Confirm CHRS or landmark status. Pull permit history and note any prior exterior approvals. Start with the Historic Resource FAQ.
- Order a general home inspection plus targeted inspections. Prioritize chimney, masonry, roof, electrical, window condition, lead testing for pre‑1978, and a sewer scope if drainage is a concern. Follow best practices in NPS Brief 2 and NPS Brief 9.
- Complete the Illinois Residential Real Property Disclosure Report and organize receipts, permits, and past reports in a single folder. Use the official Illinois disclosure form.
- Prioritize safety and water management repairs first. Seek preservation‑minded bids for facade, window, and slate or copper roof work. Reference NPS Brief 2 and NPS Brief 9.
- If exterior changes are planned, consult Landmarks staff and file for staff review or a Certificate of Appropriateness before starting.
- Stage to reveal original detail. Prepare a photo and virtual tour plan that highlights the stoop, stair, primary parlor, kitchen, and period craftsmanship.
Ready to position your Lincoln Park classic for today’s buyers while protecting its soul? Our team brings preservation‑sensitive strategy, premium marketing, and trusted vendor referrals to every listing. For tailored advice and a data‑driven pricing plan, connect with Niko Apostal to request a home valuation.
FAQs
What should Lincoln Park sellers check first about landmarks and permits?
- Confirm if the home is in the Chicago Historic Resources Survey or a local landmark district. Exterior changes visible from the street often need Landmarks staff review or a Certificate of Appropriateness. Start with Your House Has A History.
How do lead rules affect pre‑1978 Chicago homes during sale or renovation?
- Sellers must provide buyers with the EPA/HUD lead pamphlet and any known lead reports under Title X. Renovation that disturbs paint generally requires EPA RRP‑certified firms and lead‑safe practices. See Title X and EPA RRP.
Are historic wood windows energy efficient enough for buyers today?
- Often yes. Repair plus weather‑stripping and quality storm windows can approach the energy performance of replacements while preserving character and value. See NPS Brief 9 and the National Trust study on window retrofits.
Which pre‑listing inspections matter most for vintage Lincoln Park homes?
- Start with a general home inspection, then add electrical, chimney, roof, masonry, and window surveys. Consider lead testing for pre‑1978 homes and a sewer scope if there is a drainage history. Follow NPS masonry guidance.
How long do Chicago Landmarks reviews and permits take for exterior work?
- Simple, staff‑level reviews can be relatively quick, while larger scopes may take several weeks to months. Build in 4 to 12 or more weeks for approvals before exterior work. Start with the Commission’s steps in Your House Has A History.
What should I disclose when selling a historic home in Illinois?
- Complete the Illinois Residential Real Property Disclosure Report and share known material facts plus available reports and invoices. Use the official Illinois disclosure form.
Which updates add value without erasing character?
- Focus on mechanical reliability, water management, and surfaces that make spaces feel fresh. Preserve high‑visibility historic fabric like windows, facade masonry, and original woodwork. Follow NPS rehabilitation standards.
Do federal historic tax credits apply to my Lincoln Park single‑family?
- Federal rehabilitation tax credits are typically limited to certified rehabilitations of income‑producing historic properties. They are rarely applicable to owner‑occupied single‑family sales. Learn the standards at NPS rehabilitation standards.